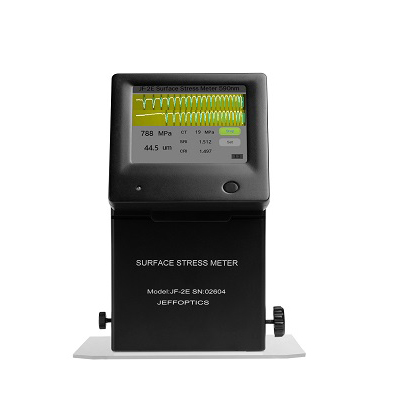
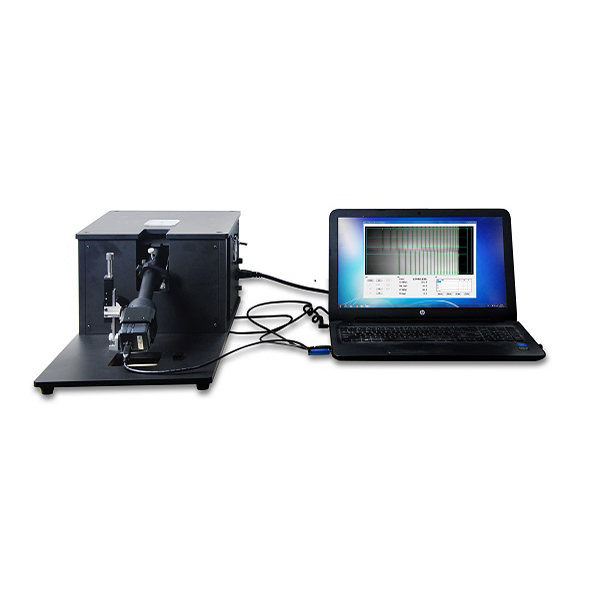
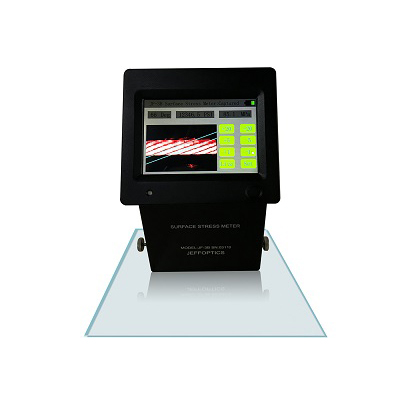
Specification For Online Secondary Image Separation Test System
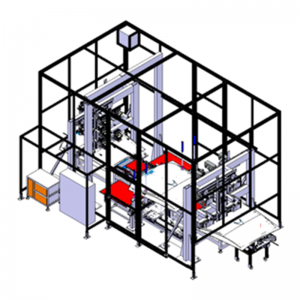
The online Secondary Image Separation Test System can be integrated into the automotive windshield production line to measure the secondary image separation angle of the automotive windshield. The test system completes the secondary image separation value measurement of dedicated points on the designated installation angle sample according to the testing plan and will alarm if value abnormal. The result can be recorded, printed, stored, and exported. Multi sensor systems can be integrated together according to measurement performance requirements.
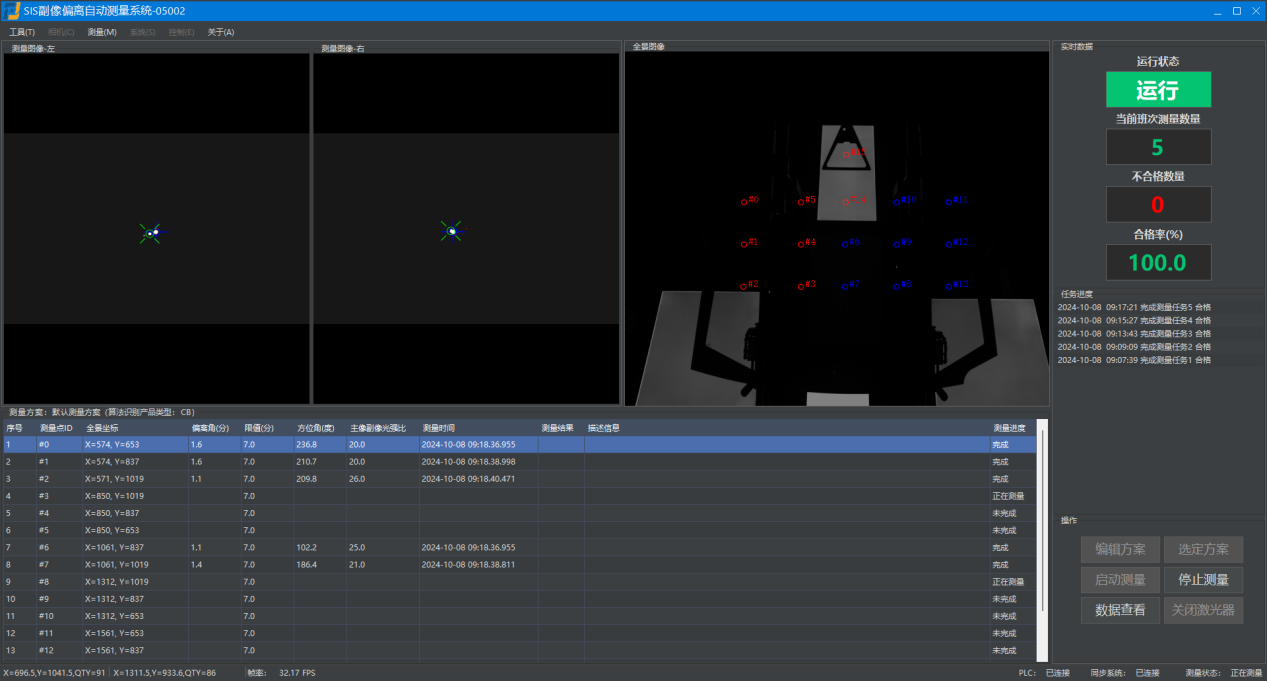
software interface
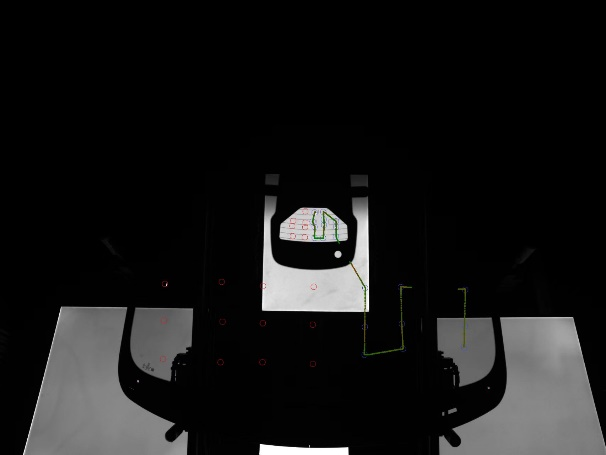
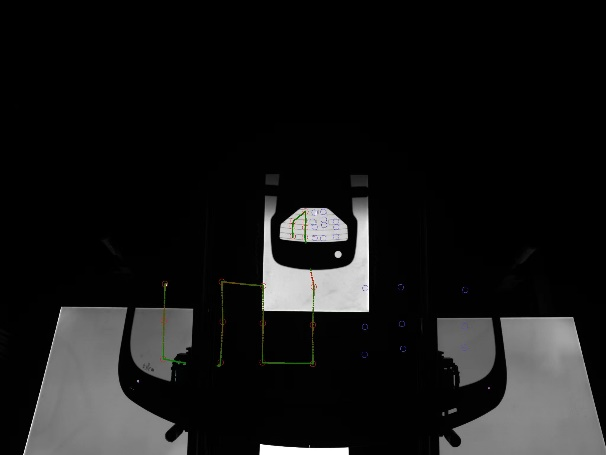
Dual sensors scanning results display
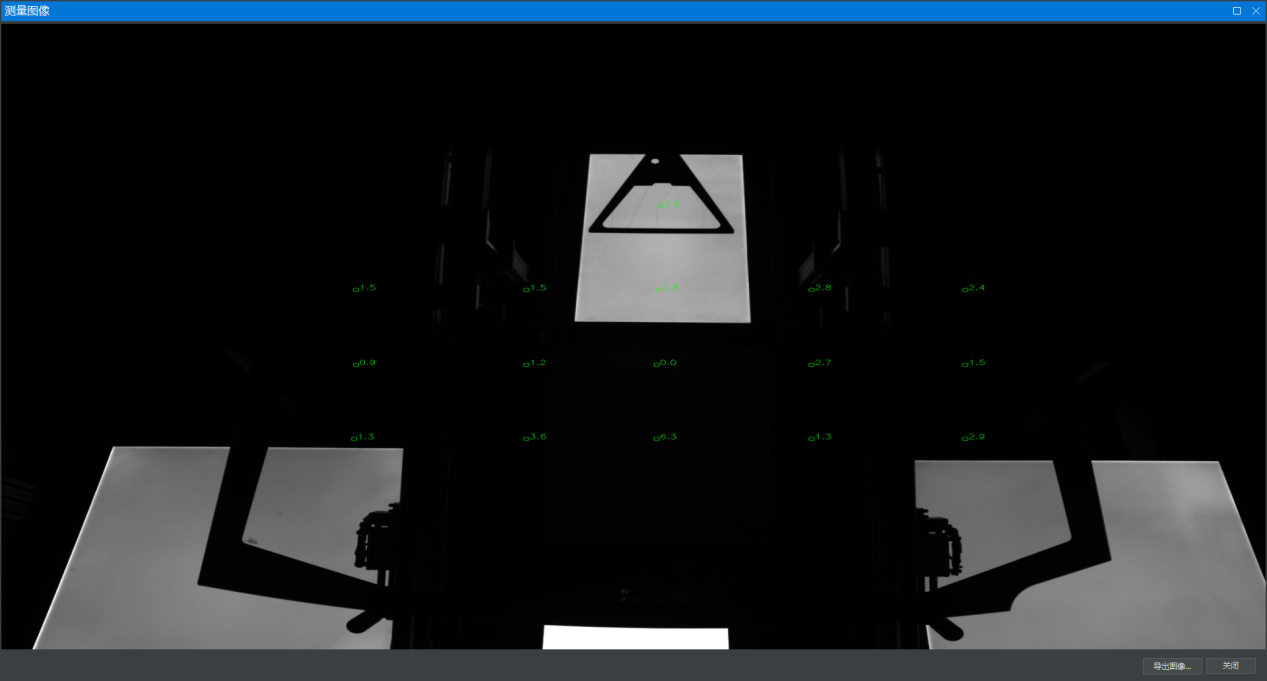
Key point results
The automatic edge stress meter can measure the stress distribution (from compression to tension) at one time with the speed about 12Hz and the results are accurate and stable. It can meet the requirements of rapid and comprehensive measurement and test in factory production. With feature of small size, compact structure and easy to use, the meter is also suitable for quality control, spot check and other requirements.
sample
Sample size range: 1.9 * 1.6 meters (customized as needed)
Sample installation angle range: 15 °~75 ° (sample size, installation angle range, measurement range, and mechanical system movement range are related and need to be customized according to requirements)
Overall performance
Single point measurement repeatability: 0.4 '(secondary image deviation angle<4'), 10% (4 '≤ secondary image deviation angle<8'), 15% (secondary image deviation angle ≥ 8 ')
Measurement Speed: 40 keypoints in 80 second(customized)
Laser light sensor system parameters
| Measurement range: 80’*60’Minimum value: 2‘Resolution: 0.1‘ | Light source: laserWavelength:532nmPower:<20mw |
Vision System parameters
| Measurement range:1000mm*1000mm | Positioning accuracy:1mm |
Mechanical system parameters (customized as needed)
| Sample size range:1.9*1.6m/1.0*0.8m.Sample fixation method: 2 upper and 2 lower positions, axisymmetric.Calculation benchmark for installation angle: a plane composed of four fixed points on the sample.Sample installation angle adjustment range: 15°~75°.System size: 7 meters long * 4 meters wide * 4 meters high. | System axis: x is the horizontal direction, z is the vertical direction.X-direction distance: 1000mm.Z-direction distance: 1000mm.Maximum translation speed: 100mm/Second.Translation positioning accuracy: 0.1mm. |
Solution 1
The mechanical section is mainly used to transfer windshield samples, adjust the sample posture to the installation angle, and assist the Secondary Image Separation Test System in completing the measurement.
The mechanical section is divided into three workstations: sample waiting for testing workstation, sample testing workstation and sample waiting for output workstation (optional).
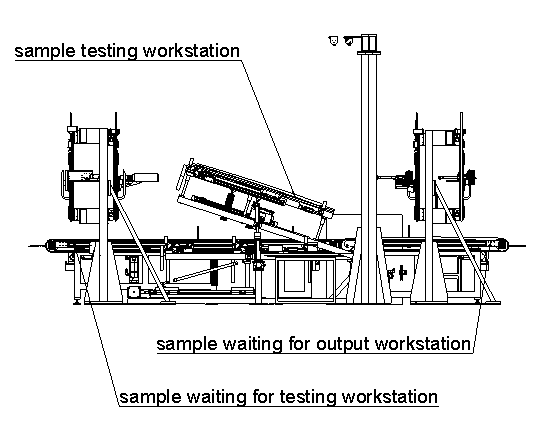
The basic process of sample testing is: the sample flows from the production line to the sample waiting for testing workstation; Then it flows from sample waiting for testing workstation to the sample testing workstation, where it is lifted to the testing position, rotated to the installation angle, and aligned; Then Secondary Image Separation Test System start to measure the sample. The tested sample flows out from the sample testing workstation to the production line or the sample waiting for output workstation.
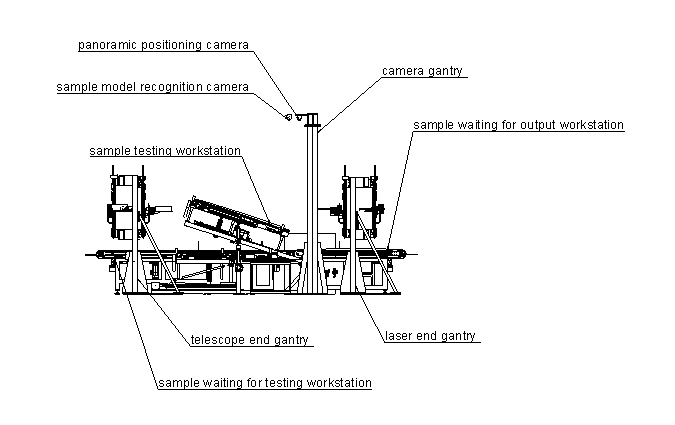
Scope of supply
1, three workstations
2, Secondary Image Separation Test System
Interface
The entrance conveyor belt of the first workstation and the exit conveyor belt of the third workstation
Solution 2
The mechanical section is mainly used to transfer the windshield sample, adjust the sample posture to the installation angle, and assist the Secondary Image Separation Test System in completing the measurement.
The mechanical section is divided into three sections: the production line, manipulator and testing workstation. The testing workstation is located next to the production line. The glass is grabbed by the manipulator and placed at the testing workstation. After the measurement is completed, the glass is then placed back onto the production line by the manipulator.
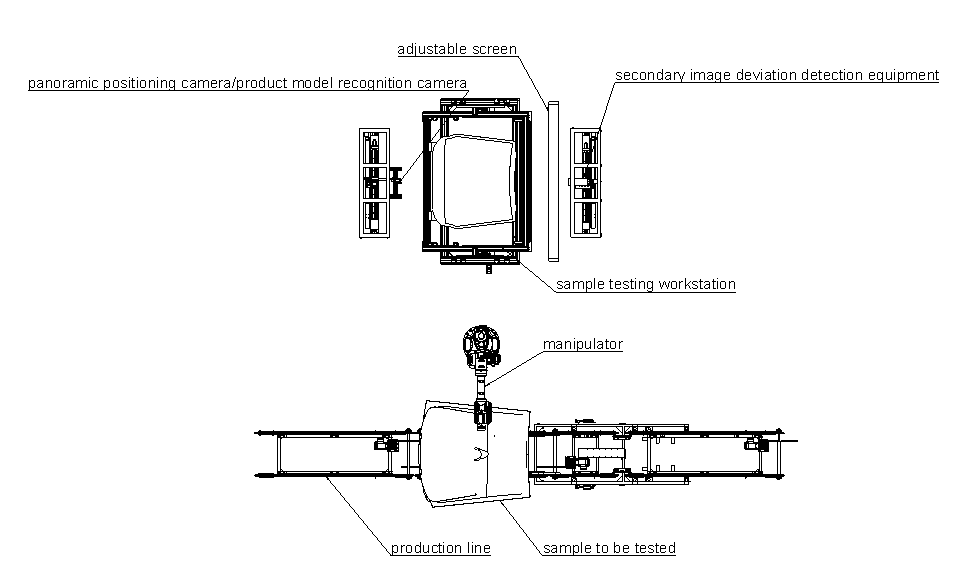
The testing workstation is equipped with a sample measurement bracket. The angle of the sample measuring bracket can be rotated to simulate the actual installation state of the sample and adjust to the appropriate installation angle before placing the sample. The sample is grabbed from the conveyor belt and placed on the adjusted measuring bracket. Alignment positioning is performed on the bracket.
The basic process of sample testing is: The bracket rotates the sample to the installation angle. The sample flows from the production line to the grab position, where the manipulator takes the glass and places the glass onto the testing workstation. And after measurement the sample is grabbed back to the production line by the manipulator and flow out.
Scope of supply
1, The testing workstation
Interface
The bracket of testing system.
manipulator by client
The testing needs to be performed in a darkroom, and the customer needs to prepare a large cover as the darkroom
Customized section
1. Measure the support bracket based on the sample size, measurement area, and installation angle.
2. Determine the number of measurement sensor systems based on the measurement range, number of measurement points, and measurement cycle requirements.
On site requirements
Site size: 7 meters long * 4 meters wide * 4 meters high (final site size to be determined based on customized option)
Power supply: 380V
Gas source: Gas source pressure: 0.6Mpa, outer diameter of intake pipe: φ 10


